Once you are done with the basic Admin UI configuration as shown in the last article you would want to move on to certain advanced settings which would require you to access the vCOps VMs using an SSH client such as Putty.
In this post we will look at changing or disabling the timeout values of the User Interfaces available within vCenter Operations Manager. vCenter Operations Manager has 2 major interfaces, one is called the vSphere UI and the other is called as Custom UI. I would highly recommend you go through all the parts of this series in case you need to know more about the architecture of vCenter Operations Manager. Let’s get started. By default the session timeout for both vSphere UI and Custom UI is 30 Minutes. This is a small time duration especially if you want to setup the dashboards in a NOC environment.
Let’s see how we can change this timeout or disable it completely.
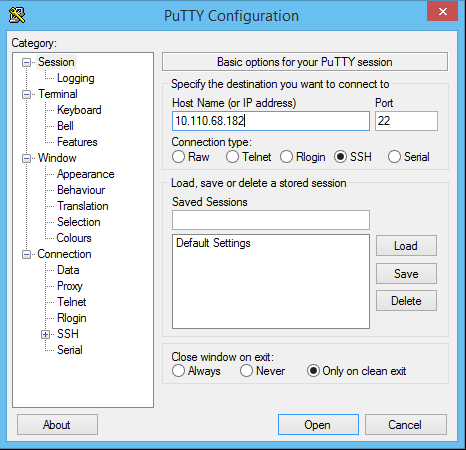
1- Login to the UI VM via a ssh client such as putty. (If you get an error regarding Ciphers & encryption, you just need to use the latest version of putty).
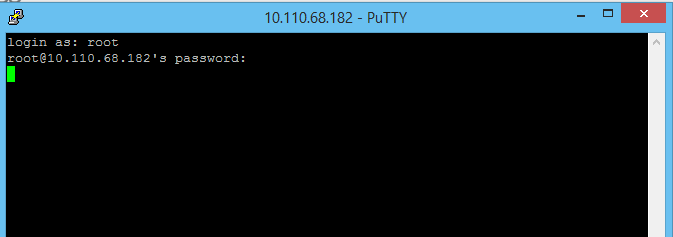
2- Login as root.
3- For vSphere UI you need to Edit the web.xml file located under the following directory
/usr/lib/vmware-vcops/tomcat/webapps/vcops-vsphere/WEB-INF/
4- For Custom UI you need to Edit the web.xml file located under the following directory
/usr/lib/vmware-vcops/tomcat-enterprise/webapps/vcops-custom/WEB-INF/
(Note – If you are not comfortable with the CLI, you can use WinScp to browse to this directory and edit it in a notepad in a GUI interface)
5- Edit the web.xml file in both the locations and you need to find the parameter under which you will see the parameter. See the screenshot below.
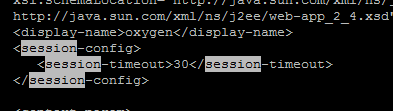
6- By default the value is in minutes and is 30 out of the box. You can increase this in minutes as per your security & access policy. You can also disable this parameter by changing the timeout value to -1
7- You need to save the files after making the change. (I would recommend you re-open and confirm the change once.)
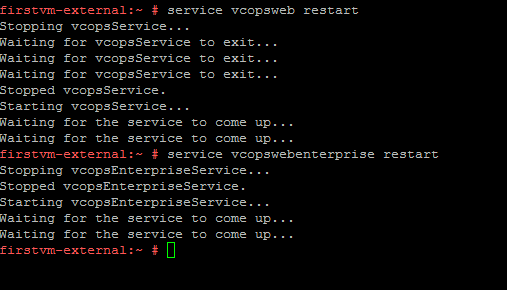
8 – Restart the services using the commands listed below for the changes to take effect. (Screenshot Below)
service vcopsweb restart
service vcopswebenterprise restart
That’s it.. This will do the trick for you. I will close this post here. Stay tuned for the next post where I will talk about vCOps Data retention policy and configurations around the same.
Stay Tuned..
Share & Spread the Knowledge!!
